
If you’ve never raised worms before, you might be wondering how you can start a worm farm. The good news is that this process is extremely easy. In this article, we’ll discuss the steps to get started with a worm farm, including how to feed your worms and compost. You can also read more about placing a worm farm. We hope these tips will help you get started! And don’t forget to share them with others!
Composting
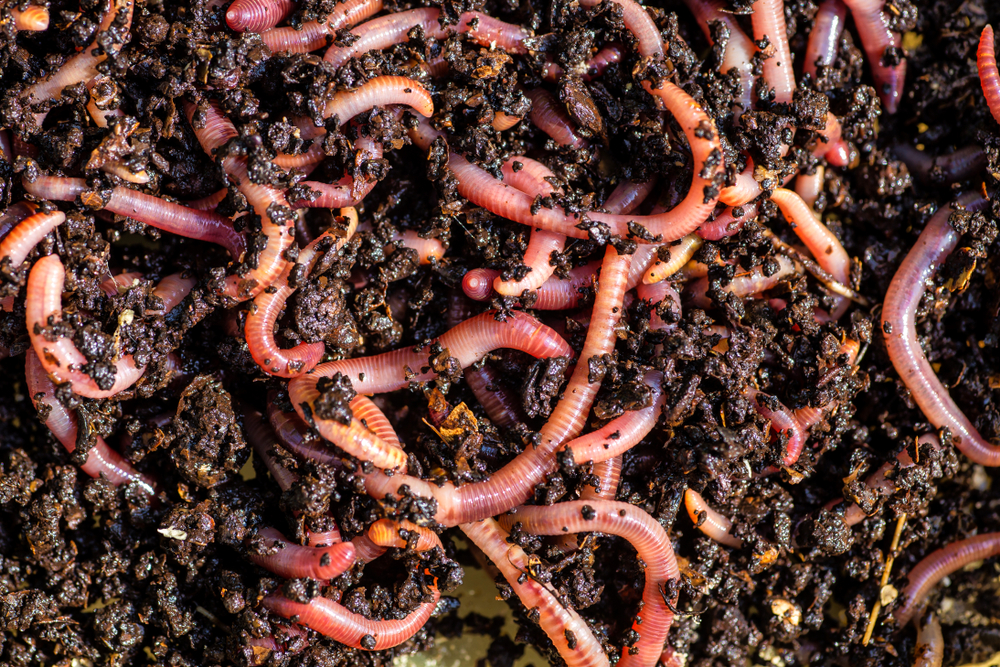
The worm farm can be your solution to composting your yard waste. Worms can break down a variety of organic materials, such as food scraps and yard waste, and produce a valuable resource that can be used to fertilize your lawn or garden. In addition to compost, worm farms produce a rich source of nutrients in their castings. Harvesting worm compost requires patience and manual separation. It’s fun for the whole family, and you can even get your children involved.
Bedding for worms
When using bedding in your worm farm, it is important to keep the worms moist. Because worms breathe through their skin, they require a moist environment in which to live. Furthermore, moist bedding facilitates the breakdown of the bedding material and food scraps. Bedding that is too dry can cause mold and mildew in your worms. If you are using a hand-held spray bottle, you can fill it with water.
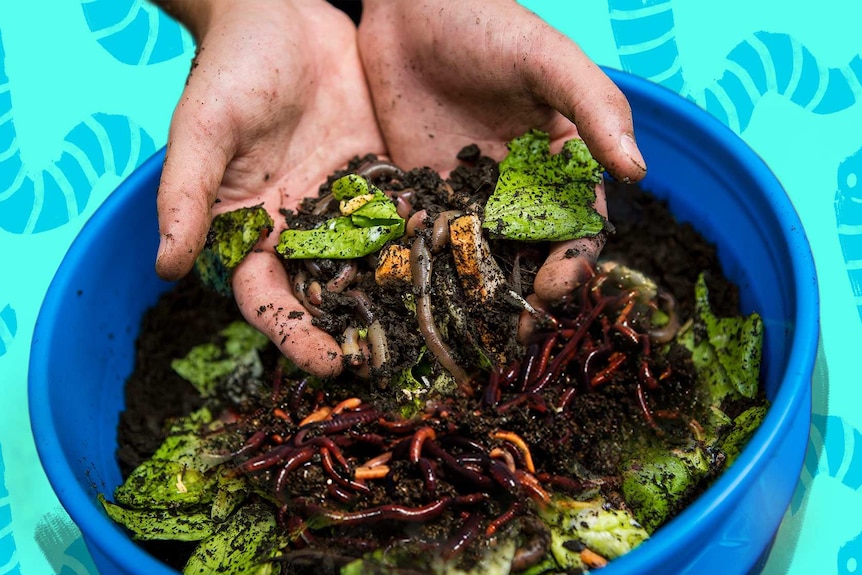
Feeding worms
The frequency and amount of food you feed your wiggly friends will depend on their size and condition. Feeding them twice a week or weekly is ideal. You can also feed them daily if you are away from your home for more than a month. If you decide to feed your worms daily, remember to push back their bedding and fill the bin with about an inch of food each day. Do not grind the food.
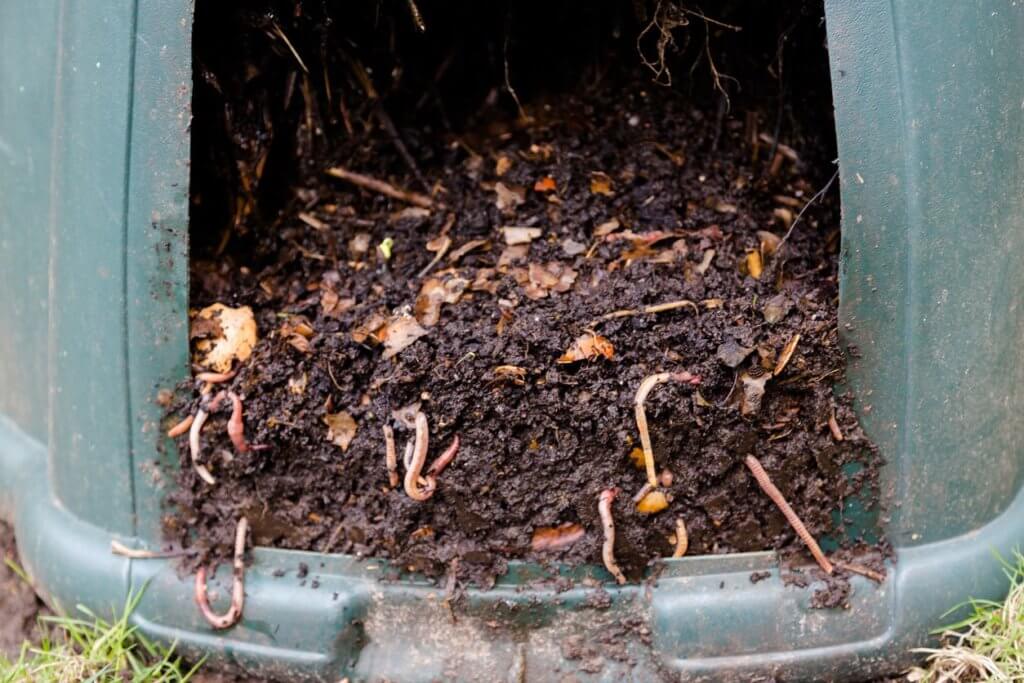
Placement of worm farm
Where to place your worm bin is vital to a successful worm farm. They need a temperature that stays between 18 and 23 degrees Celsius. The right place for your worms will not smell, but it needs to be away from any area that can be neglected. A bin that is in an area where you frequently visit will give off a noticeable odor when it’s in need of cleaning. Keep in mind that worms like a 70 percent moisture level and should be surrounded by clean, moist bedding.
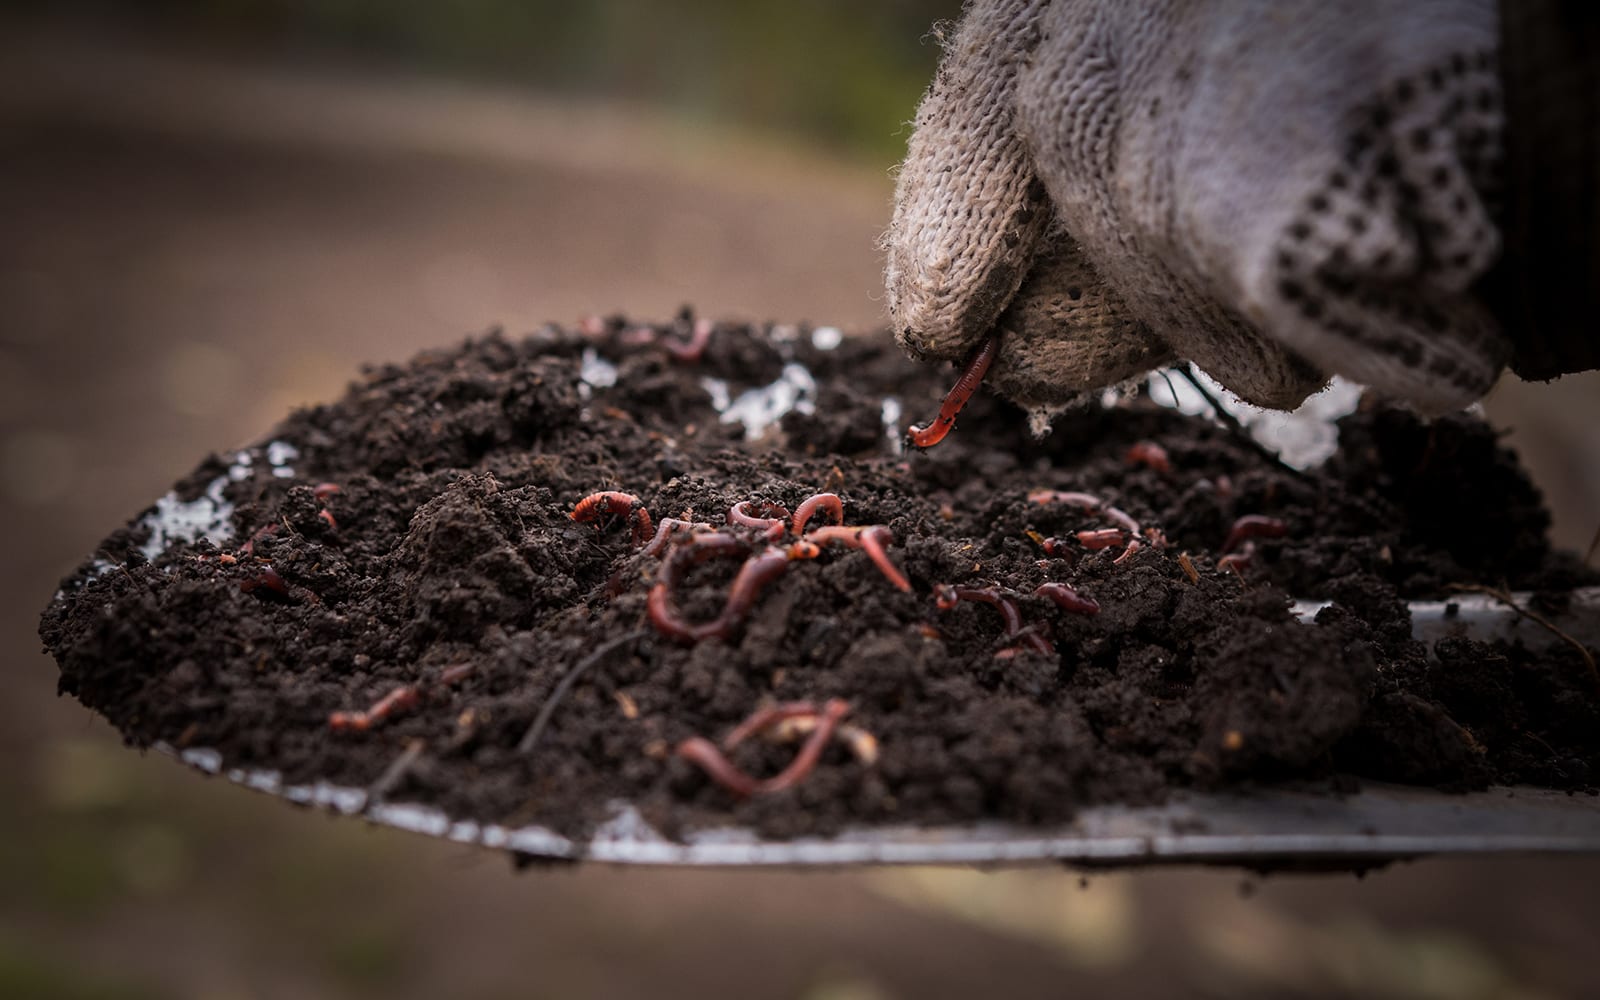
Harvesting worm castings
If you want to harvest worm castings from a pond, you should first separate the worms from the castings. Worms usually migrate between the feeding side and the castings layer. Harvesting worm castings is easier if the worms are smaller. You can harvest the castings by separating them and reusing them in different worm farms. You can also use them to make compost.